Less Processed Homemade Peanut Butter Cups: A Natural Indulgence
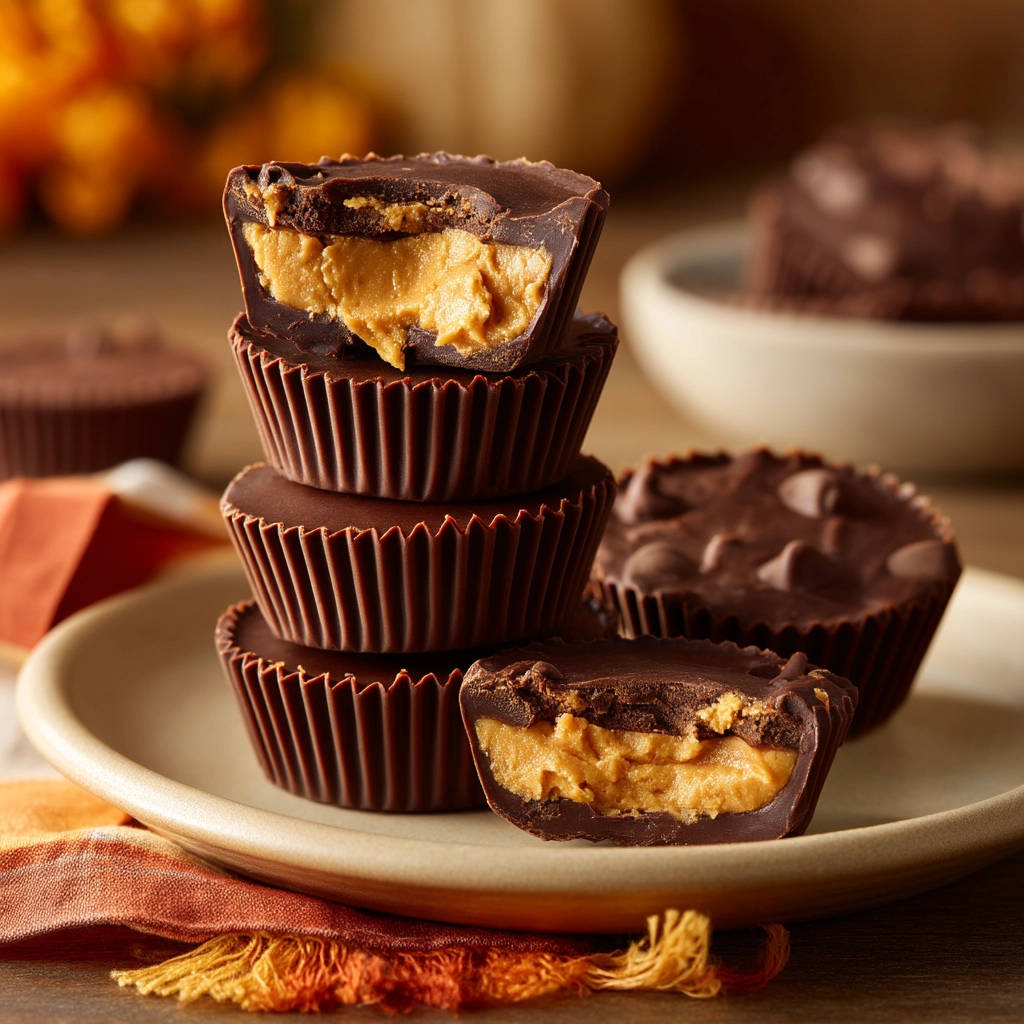
For anyone with a deep appreciation for the classic combination of peanut butter and chocolate, the mere mention of peanut butter cups sparks joy. While the store-bought versions have long held a nostalgic place in our hearts, there’s a growing desire for treats that offer the same beloved flavor profile with fewer processed ingredients and more natural goodness. Enter the world of
homemade peanut butter cups – a rich, creamy, and surprisingly simple indulgence that often surpasses its mass-produced counterparts.
Imagine sinking your teeth into a confection where every ingredient is recognizable, where the chocolate is rich and the peanut butter filling is exquisitely smooth, without the lingering question marks over preservatives or artificial flavors. This isn't just a dream; it's the reality of creating your own
homemade peanut butter cups. This no-bake recipe typically comes together in about 20 minutes, making it not only a delightful project for adults but also a fantastic, fun activity to involve children. Once you experience the superior taste and simple preparation, you might just find yourself saying goodbye to the candy aisle for good.
The Allure of Homemade Peanut Butter Cups: Beyond the Candy Aisle
There’s a special satisfaction that comes from making your favorite treats from scratch. While classic candies like Reese's peanut butter cups hold a certain charm, crafting a homemade version allows for unparalleled control over quality, taste, and ingredients. This shift towards less processed foods is more than just a trend; it's a conscious choice for many seeking healthier, more transparent options without sacrificing flavor.
Unpacking the "Less Processed" Promise
One of the primary motivations for making your own
homemade peanut butter cups is the desire to consume less-processed foods. What does "less processed" truly mean in this context? It means understanding and controlling every ingredient that goes into your treat. Store-bought candies often contain a list of ingredients that can be daunting, including various preservatives, artificial flavors, and excessive amounts of sugar or high-fructose corn syrup. For instance, obscure additives like TBHQ (tertiary butylhydroquinone) are common in many commercially produced foods. When you make them at home, these concerns vanish. You're choosing simple, natural components, eliminating unnecessary chemicals and hydrogenated oils, and drastically reducing refined sugars. This approach empowers you to enjoy a treat that aligns better with a wholesome lifestyle, without compromising on that irresistible peanut butter and chocolate harmony.
Taste That Transcends: Quality Ingredients Make the Difference
Dare we say that homemade often tastes *better*? Absolutely. The secret lies in the quality of your chosen ingredients. Commercial candies, while convenient, often utilize lower-grade chocolate and peanut butter, which can result in a waxy texture or an overly sweet, artificial flavor profile. With
homemade peanut butter cups, you get to select:
*
Premium Chocolate: Whether you prefer milk, semi-sweet, or dark chocolate, opting for a high-quality brand with a good cocoa content makes an enormous difference. The richness and depth of flavor are simply unparalleled.
*
Natural Peanut Butter: The star of the show! Using natural peanut butter – the kind with just peanuts and perhaps a touch of salt – ensures a pure, unadulterated peanut flavor. It avoids the added sugars, hydrogenated oils, and emulsifiers often found in conventional spreads, contributing to a smoother, creamier, and more authentic filling.
*
Balanced Sweetness: By controlling the amount of sugar in your filling, you can achieve a perfect balance that highlights the chocolate and peanut butter rather than overpowering them. The result is a treat that is rich without being cloyingly sweet, hitting all the right notes for a truly satisfying indulgence.
This dedication to quality ingredients elevates the entire experience, transforming a simple candy into a gourmet delight that truly shines.
A Budget-Friendly Indulgence
Beyond the health and taste benefits, making your own
homemade peanut butter cups offers a significant economic advantage. While buying individual candy bars or bags of treats from the store can quickly add up, especially if you're a regular consumer, crafting a batch at home is far more cost-effective. You're leveraging bulk ingredients that often stretch across multiple batches or other recipes, making each individual cup much cheaper than its store-bought counterpart. This means you can enjoy more of your favorite treat without breaking the bank. For more insights on cost-effective homemade treats, check out our guide on
Quick & Budget-Friendly Homemade Peanut Butter Cups in 20 Mins.
Crafting Your Own Perfection: A Simple No-Bake Method
One of the most appealing aspects of making
homemade peanut butter cups is that they are entirely no-bake. This eliminates the need for an oven and makes the process incredibly straightforward and forgiving. Even novice bakers or those short on time can achieve fantastic results with minimal fuss.
Essential Ingredients for Superior Taste
To whip up a batch of these delectable cups, you’ll only need a handful of readily available ingredients, allowing you to focus on quality:
*
Natural Peanut Butter: As mentioned, opt for a good quality, creamy natural peanut butter. Look for brands with minimal ingredients – just peanuts and salt are ideal.
*
Butter: A small amount of unsalted butter helps bind the peanut butter filling and gives it a wonderfully smooth, melt-in-your-mouth texture.
*
Powdered Sugar (Confectioners' Sugar): This provides sweetness and helps create a smooth, firm filling without a grainy texture. You can adjust the amount to your preferred sweetness level.
*
Vanilla Extract: A touch of vanilla enhances the overall flavor profile, adding a warm, aromatic note.
*
Salt: A pinch of salt balances the sweetness and brings out the nutty flavor of the peanut butter. Don't skip it!
*
High-Quality Chocolate Chips or Baking Chocolate: A combination of milk and semi-sweet chocolate chips works beautifully for a balanced flavor, but feel free to experiment with dark chocolate for a richer, less sweet cup.
The Art of Layering: Step-by-Step Guidance
The process for creating these beauties is incredibly simple and surprisingly quick. Here’s a general overview:
1.
Prepare the Peanut Butter Filling: In a medium mixing bowl, combine the natural peanut butter, softened butter, powdered sugar, vanilla extract, and salt. Mix until thoroughly combined and smooth. This mixture should be firm enough to handle but still soft and creamy.
2.
Melt the Chocolate: In a separate microwave-safe bowl, combine your chosen chocolate chips. Heat in short intervals (e.g., 30 seconds at a time), stirring well after each interval, until the chocolate is fully melted and smooth. Be careful not to scorch the chocolate; low and slow is key.
3.
Layer the Cups: Line a mini muffin tin (or standard muffin tin for larger cups) with paper liners. Spoon a small amount of melted chocolate into the bottom of each liner, just enough to cover the base.
4.
Add the Peanut Butter Layer: Take small, flattened spoonfuls of the peanut butter mixture and gently place them on top of the chocolate layer in each liner. Don't press too hard, just enough to form an even disc.
5.
Cap with More Chocolate: Spoon the remaining melted chocolate over the peanut butter layer, ensuring it fully covers the peanut butter and reaches the edges of the liner. Gently tap the muffin tin on the counter a few times to help settle the chocolate and release any air bubbles, creating a smooth top.
6.
Chill to Set: Place the muffin tin in the refrigerator for at least 15-20 minutes, or until the chocolate is completely set and firm.
And that’s it! The longest part of the process is often the chilling time. For a deeper dive into the easy, no-bake method that yields results better than Reese's, explore our detailed guide on
Homemade Peanut Butter Cups: Easy No-Bake & Better Than Reese's.
Tips for the Ultimate Homemade Peanut Butter Cup Experience
While the basic recipe is straightforward, a few expert tips can elevate your
homemade peanut butter cups from delicious to absolutely divine.
Ingredient Customization & Swaps
Don't be afraid to get creative and personalize your peanut butter cups:
*
Chocolate Varieties: Experiment with different types of chocolate. A blend of dark and milk chocolate offers a sophisticated bittersweet profile, while a white chocolate swirl on top can add a beautiful aesthetic and distinct flavor.
*
Nut Butter Alternatives: For those with peanut allergies or simply desiring a different flavor, almond butter, cashew butter, or even sunflower seed butter can be excellent substitutes for the filling. Just ensure they are natural and creamy.
*
Sweetener Adjustments: If you're aiming for even less sugar, you can reduce the amount of powdered sugar in the filling or even use a natural liquid sweetener like maple syrup or honey, adjusting other dry ingredients slightly to maintain consistency.
*
Fun Add-ins: Sprinkle a pinch of sea salt flakes on top of the final chocolate layer for a gourmet salted caramel effect. You can also mix finely chopped nuts, a dash of cinnamon, or even mini chocolate chips into the peanut butter filling for added texture and flavor.
Storage & Enjoyment
Proper storage ensures your homemade delights remain fresh and tasty:
*
Refrigeration: Once set, store your
homemade peanut butter cups in an airtight container in the refrigerator. They will stay fresh for up to two weeks.
*
Freezing: For longer storage, freeze them in an airtight container for up to two months. Thaw in the refrigerator for a few hours or enjoy them frozen for a firmer, chewier treat.
*
Serving: While delicious straight from the fridge, letting them sit at room temperature for 5-10 minutes before serving can enhance their creaminess and allow the flavors to fully bloom. They’re perfect as an after-dinner treat, a party favor, or a delightful snack anytime hunger strikes.
Making these with kids is also a fantastic way to introduce them to the joy of cooking and the benefits of less-processed foods. They'll love the hands-on process and, of course, the delicious reward!
In conclusion, embarking on the journey of making your own
homemade peanut butter cups is a decision you won't regret. It's an opportunity to create a beloved treat that is not only incredibly delicious but also made with natural, wholesome ingredients. From the rich, balanced flavor to the simple no-bake preparation and the undeniable satisfaction of a less-processed indulgence, these cups truly outshine their store-bought counterparts. So, gather your simple ingredients, dedicate a mere 20 minutes, and prepare to fall in love with your new favorite natural, homemade confection.